This web2py tutorial shows these main concepts:
- How to represent an integer quantity in the database, such as a user ID, as a string
- How to use multiple tables in a form
- How to use something other than a default SQLFORM widget
These concepts are illustrated by creating a highly simplified tasks database consisting of nothing but a description and a title. When you create a record, you assign the task to an existing user in the web2py built-in `auth_user` database. That means creating a New Task form requires using two different tables. This is where web2py’s `SQLFORM.factory` comes in.
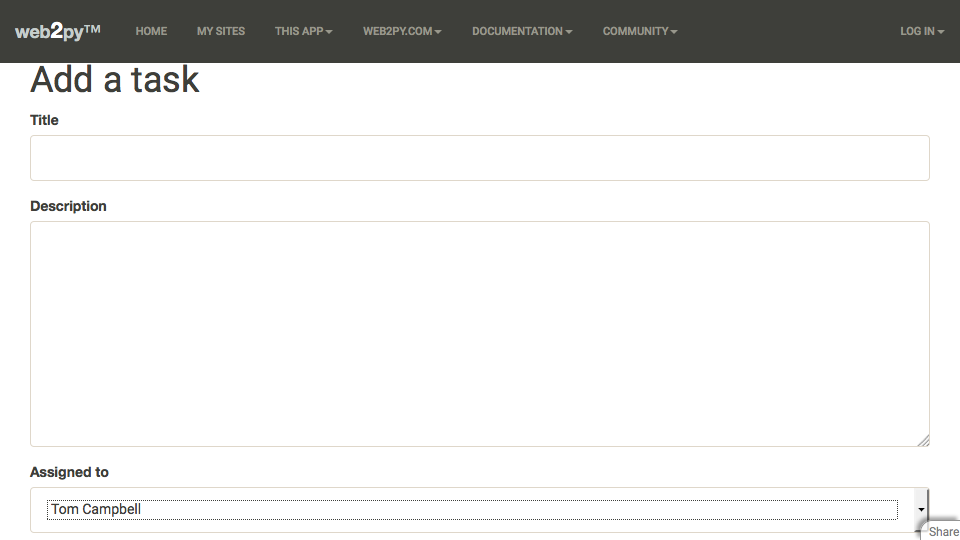
Here’s a look at the form in question:

It looks like any other web2py form, which is the point. You can see that the Assigned to field contains a name instead of the unique ID number used to represent it in the user_auth table. That’s the second trick. The first trick is that Title and Description from the todo table. web2py SQLFORM doesn’t generate forms that use multiple tables, so the task at hand is to use SQLFORM.factory to knit the two tables together in a single form.
For illustrative purposes, this app also has the abilities to:
- Add, edit, and delete users to the auth_user table via web2py’s `SQLFORM.grid`
- List tasks
Create a new web2py application
From the web2py admin interface, create an application. The name can be anything you want. In this web2py tutorial we’ll name it id2string.
Create the model
This application will let you create to tasks using a simplified model, and to represent a team member not as the unique ID number assigned to that team member, but as the first and last name together. Append this code to the bottom of db.py:
file: /models/db.py
db.define_table('todo',
    Field('title',unique=True,notnull=True),
    Field('description','text'))

custom_auth_table = db[auth.settings.table_user_name]
custom_auth_table._format = '%(first_name)s %(last_name)s'
Create the controllers
Replace the default index() controller method in default.py
Replace the contents of the index() controller method in default.py as follows:
# For demonstration purposes,
# Home pages shows all to do items
def index():
    return dict(grid=SQLFORM.grid(db.todo,user_signature=False))
Create the team() controller method in default.py
Still in the default.py controller, create a controller called team()
file: /controllers/default.py
# For demonstration purposes so you can add and view
# team members
def team():
    return dict(grid=SQLFORM.grid(db.auth_user,user_signature=False))
Create the newtask() controller method in default.py
Still in the default.py controller, create a controller called newtask()
file: /controllers/default.py
def newtask():
    form = SQLFORM.factory(
            Field('title', requires=IS_NOT_EMPTY()),
            Field('description', widget=SQLFORM.widgets.text.widget),
            Field('user_id',
                  'reference auth_user',
                  label='Assigned to',
                  requires=IS_IN_DB(db,db.auth_user.id,
                      db.auth_user._format)
                 ),
            formstyle='bootstrap3_stacked',
            submit_button='Save',
            fields=['title', 'description', 'user_id'])
    if form.process().accepted:
        id = db.todo.insert(**db.todo._filter_fields(form.vars))
        form.vars.client = id
        id = db.auth_user.insert(**db.auth_user._filter_fields(form.vars))
        response.flash = T('Thank you')
    elif form.errors:
        response.flash = T('Problem: please see description below')
    else:
        response.flash = '' # 'please fill the form'
    return dict(form=form)
SQLFORM.factory() doesn’t know about databases. It therefore doesn’t know that the `description` field should use a multiline textarea control, not the default one-line string input. This line corrects that assumption:
Field('description', widget=SQLFORM.widgets.text.widget)
Create the views
You’ll need to replace the index.html view generated by web2py and create a new one for the newtask() and team() controllers.
Replace the default view index.html
Replace the contents of the index.html generated by web2py with the following:
file: /views/default/index.html
{{extend 'layout.html'}}
<h1>To Do</h1>
<h2>
{{=A(T('Tasks'), _href=URL('tasks'))}} {{=A(T('Team'), _href=URL('index'))}}
</h2>
{{=grid}}
Create the default/team.html view
Create a new file named default/team.html and place this code in it:
file: /views/default/team.html
{{extend 'layout.html'}}
<h1>Development team members</h1>
{{=grid}}
<h2>
{{=A(T('Tasks'), _href=URL('index'))}}
{{=A(T('New task'), _href=URL('newtask'))}}
</h2>
Create the default/newtask.html view
Create a new file named default/newtask.html and place this code in it:
file: /views/default/newtask.html
{{extend 'layout.html'}}
<h2>
{{=A(T('Tasks'), _href=URL('index'))}}
{{=A(T('Team'), _href=URL('team'))}}
</h2>
{{=form}}
Run the demo
Navigate to the address you need to demonstrate, something like this:
http://127.0.0.1:8000/id2string/default/index
Before you create a task, you need a team member to assign to the task.
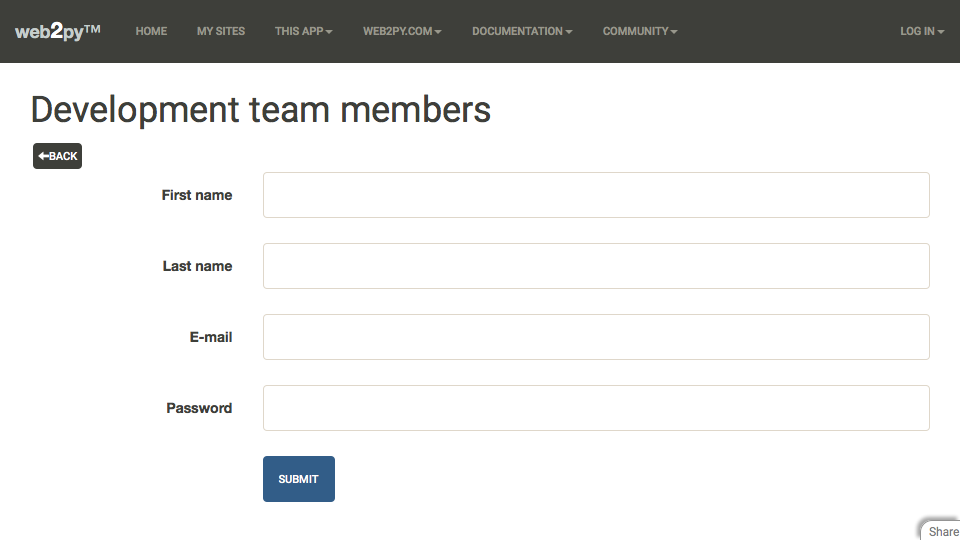
- Click the Team link, then Add Record, and fill out the form. Add at least 1 team member.

- After you’ve saved at least 1 record, return home and click New Task.
- When you assign the record to someone, you’ll see a list of names, not user ID numbers.
The home page shows the tasks in a grid:

Many thanks to Stifan (黄祥), who answered this question for me on the web2py Google group.
Recent Comments