The DataTable jQuery plug-in from DataTables.net is a very fast, configurable grid control. It has built-in pagination, search (including incremental search, where the grid shrinks as you type each letter, reducing the grid size as you refine the search term), sorting by column, and multiple theming options, among them jQueryUI, Bootstrap, and Foundation. It works beautifully with web2py when you’ve cracked its secrets.
DataTable very easy to use–if you already know howt! Sort of like web2py in that regard. I didn’t know how… and I spent hours learning. You are now welcome to the fruits of my labor.
Here’s the minimum code you need to create and populate a 101-record sample database (so you can play with DataGrid’s pagination feature), read the contents of a query in, and display the grid.
Related: Handsontable tutorial #1: Populating a Handsontable grid using web2py
Create a sample model file
Create a model file named person.py with the following contents:
File: /models/person.py
# Create a database named 'person' with 'last_name' and 'first_name' fields. # web2py also creates a field named 'id' automatically. db.define_table('person',Field('last_name'), Field('first_name')) # If no database exists, generate a database of 101 unique records # with names in the form John1 Smith1, John43 Smith43, etc. if db(db.person).isempty(): for eachName in range(101): nextNumber=str(eachName) db.person.update_or_insert(last_name='Smith'+nextNumber,first_name='John'+nextNumber)This creates a database consisting of names that look like John1 Smith1, John2 Smith2, and so on. Feel free to change the number from 101 to 10,000 or something, because DataTable is fast.
Replace the index() method in default.py
Replace the index() method in default.py with the following:
File: /controllers/default.py
def index(): import json # Select all the records, to show how # datatables.net paginates. # Rows can't be serialized because they contain # an open database connection. Use as_list() # to serialize the query result. people = json.dumps(db(db.person).select().as_list()) return dict(results=XML(people))It looks a little different from a typical query, which would normally look something like this:
def index(): # Select all the records, to show how # datatables.net paginates. people=db(db.person).select() return dict(results=people)You can’t serialize a query like
people=db(db.person).select()because Row objects contain a reference to an open database connection. The web2py as_list() method converts the query result to a list of dictionaries. Then the json.dumps() method converts the return value to a string. Finally, the XML() helper function prevents the string from being escaped when rendered.Replace views/default/index.html:
Replace the file default/index.html with the following:
File: /views/default/index.html
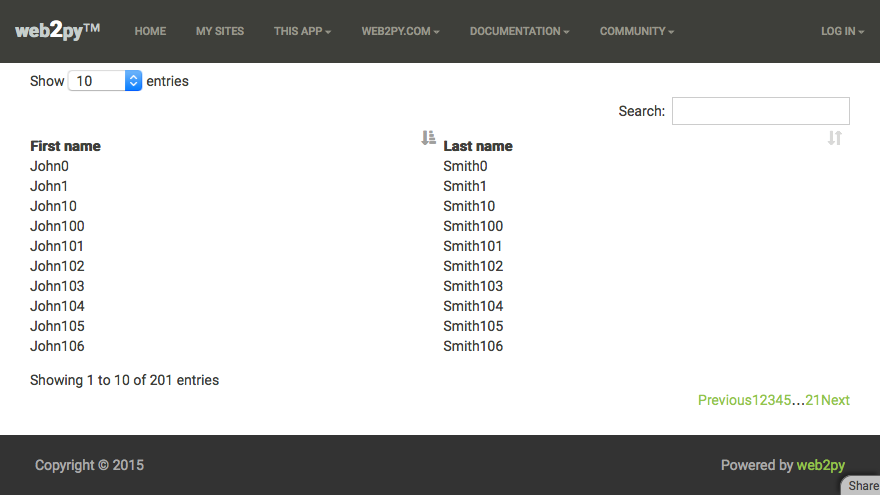
{{extend 'layout.html'}} {{if 'message' in globals():}} <h3>{{=message}}</h3> {{pass}} <script   src="https://cdn.datatables.net/1.10.10/js/jquery.dataTables.min.js">   src="https://cdn.datatables.net/1.10.10/js/dataTables.bootstrap.min.js"> </script> <link rel="stylesheet"   media="screen"   href="https://cdn.datatables.net/1.10.10/css/dataTables.bootstrap.min.css"> <table id="person-table" class="display" cellspacing="0" width="100%"> <thead> <tr> <th>First name</th> <th>Last name</th>             </tr>         </thead>     </table> <script type="text/javascript"> $(document).ready(function(){     $("#person-table").DataTable({         data:  {{=results}},         columns: [             { data: 'first_name' },             { data: 'last_name' }             // 'id' omitted to show that you can             // use only the fields you choose         ]     }) }); </script>When you run the program, you’ll see this:
Boooorrrrrring! It can be styled many different ways, including Bootstrap. Since that’s already built into web2py, let’s see what we can do. In the index.html file, find
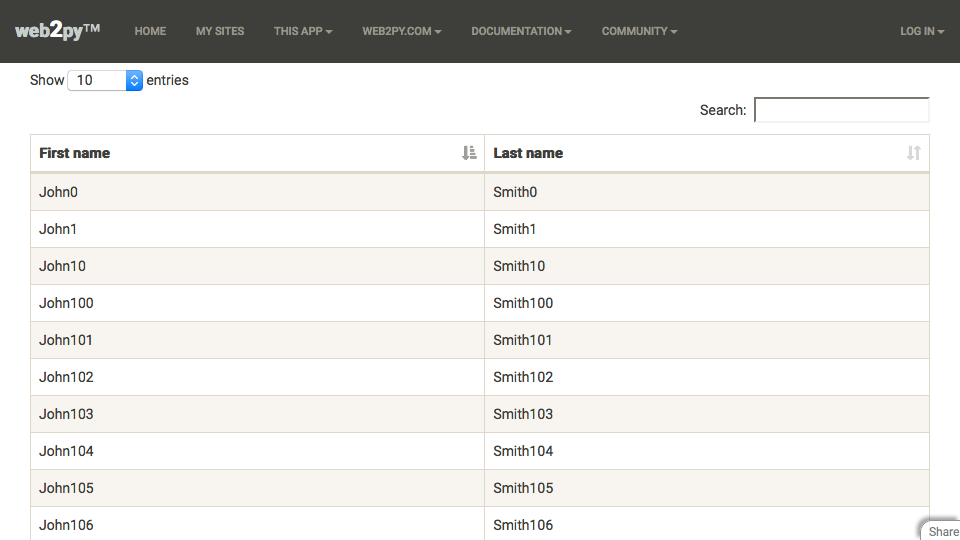
class="display"and replace it withclass="table table-bordered table-striped". Now take it out for a spin:
That’s more like it! This post was more about wiring up DataTable than about styling, but now you get a taste for what it can do.
Recent Comments